


Best Screen Recording Software Free: How to Record Your Screen for Free
Screen recording software enables users to capture the content displayed on their screens, whether it's a full desktop, a specific application, or a selected region. And screen recording has become an essential tool for educators, professionals, and content creators alike. Whether you're sharing a tutorial, demonstrating software, or capturing memorable gaming moments, having access to reliable screen recording software is crucial. This article will explore the best free screen recording software options available and provide step-by-step instructions on how to record your screen for Free.
Part 1: Best Dedicated Recording Software Free— OBS Studio
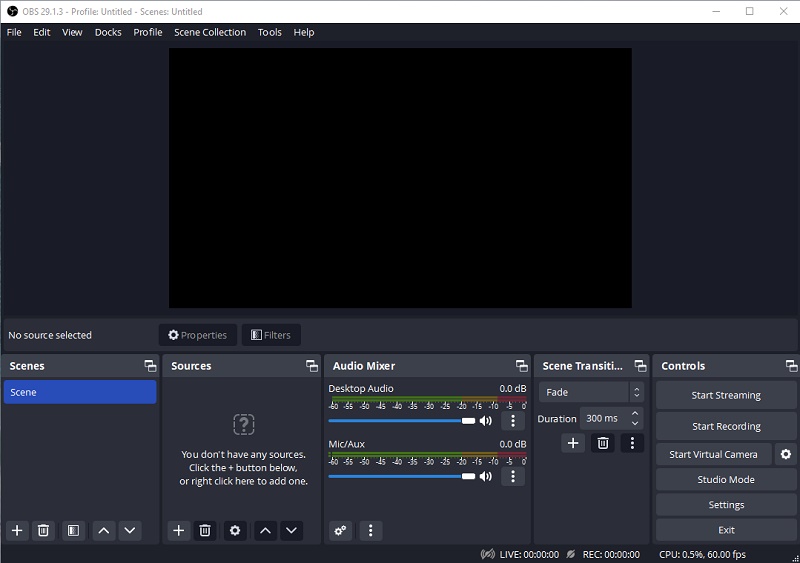
OBS Studio (Open Broadcaster Software) is a free, robust and versatile open-source screen recording and live streaming software that empowers users to capture, broadcast, and share their on-screen activities. OBS Studio works on different operating systems like Windows, macOS, and Linux, making it usable on various computers. It has many advanced features and settings to meet the needs of techs like setting up an unlimited number of scenes you can switch between seamlessly via custom transitions, intuitive audio mixer with per-source filters such as noise gate, noise suppression, and gain, enabling you take full control with VST plugin support, etc. But correspondingly, it can be a bit complex. The learning curve is steep for non-techs and not suited for quick screen recordings.
Part 2: Best All-in-one Recording Software Free For Beginners — Any Video Converter
Initially designed solely for format conversion, Any Video Converter has progressively evolved into a versatile toolkit capable of addressing various video-related tasks. Beyond its original role as a video converter, it has expanded its capabilities to encompass functions such as video compression, video editing, video downloading, and even video screen and webcam recording. In essence, it has transitioned into a comprehensive solution for a range of video-related needs.
The Pros of Using Any Video Converter to Record Your Screen
1. User-Friendly Interface: Any Video Converter offers a user-friendly interface that makes it accessible for both beginners and experienced users. The intuitive layout allows you to quickly navigate through the software's features, making the recording process smooth and hassle-free.
2. Real-Time Editing: Many screen recording software support doing simple edit to the recorded video within the software. Different from most of tools, Any Video Converter offers basic editing tools that allow you to trim, crop, cut, merge recorded clips and much more directly, and allow you to create your own workflow to reduce those functions you do not want. This eliminates the need to switch to separate editing software for minor adjustments, streamlining your workflow and saving time.
3. Export Options: Any Video Converter neatly stores the captured video in your chosen location with the format of your preference. The advantage of this approach is that when you're ready to tweak your video using different editing software, you can bring it in seamlessly. Certain screen recording tools, like Camtasia, stores recordings in the TREC format, exclusively accessible through Camtasia. If your aim is to edit the video using alternate software, you're required to first convert it into MP4 format, which unavoidably gobbles up some of your precious time.
Features of Any Video Converter
- Record screen and webcam for free
- Convert videos between different formats
- Convert videos to higher resolution
- Convert videos or images to GIFs
- Cut or trim a video into segments
- Crop video file to delete unwanted portions
- Download videos and music from 100+ sites

How to Easily Record Screen with Any Video Converter
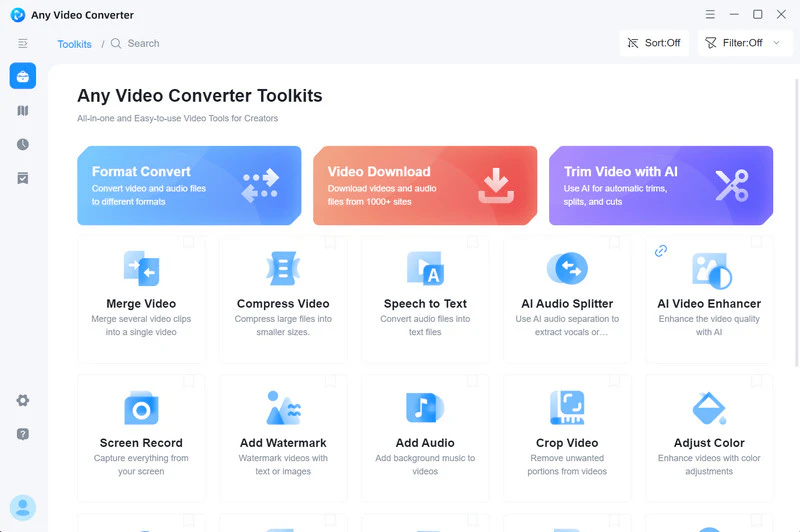
Install Any Video Converter
Download and install this free screen recording software. Launch the software to reveal the subsequent interface
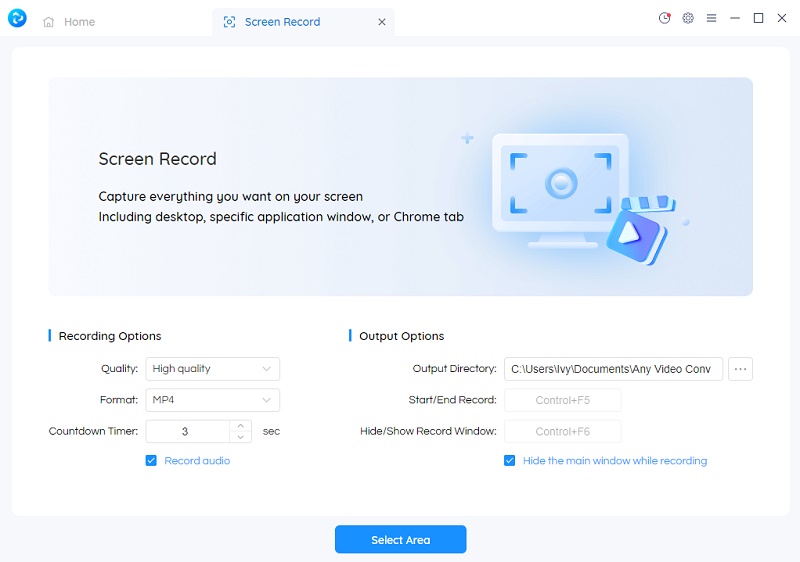
Configure Recording Parameters
Select the "Screen Record" option to access the settings interface. Within this section, you have the liberty to configure recording parameters such as quality, format, countdown timer, the designated output directory and audio.
Define the Recorded Area
Click the Select Area button and adjust the dimensions of the captured area by manipulating the rectangle box's perimeter according to your need.
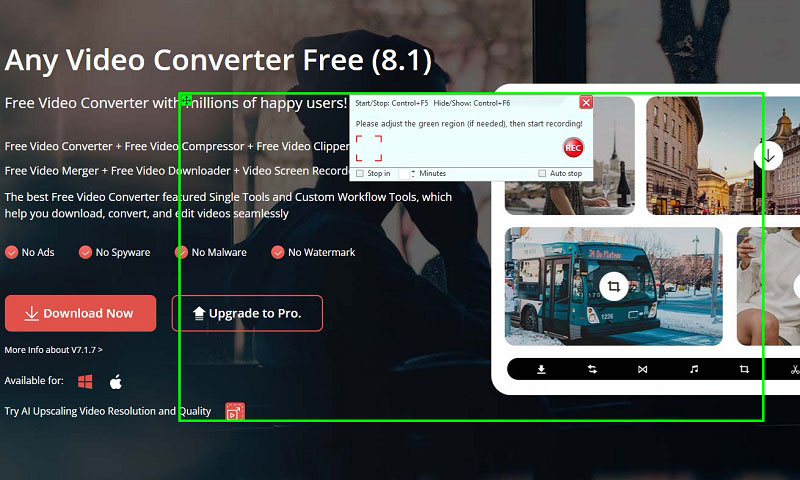
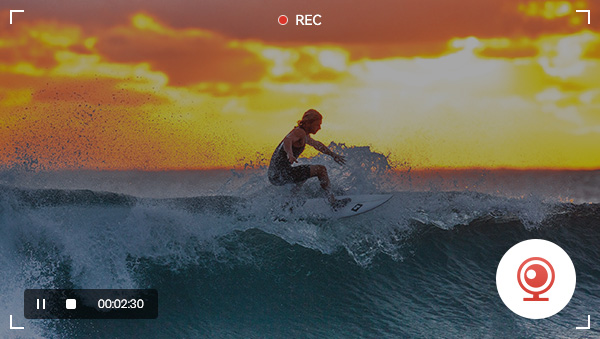
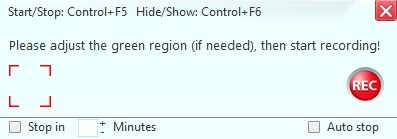
Start Recording
Once the area is defined, commence recording by clicking the "REC" button or by using the keyboard shortcut Control + F5. To conclude the recording, press the same keys again. Subsequently, locate the recorded file in the predetermined path you selected.
Part 3: How to Record Screen on Windows 10 / Windows 11?
Most smartphones and computers have a built-in function that allows you to directly record what's happening on your screen. For example, Windows 10 and 11 have a tool called Xbox Game Bar that's mainly for capturing video game play on your computer, but it's also handy for recording other screen activities. With Xbox Game Bar, you can effortlessly record your screen, include your voice or other sounds with a microphone, and then save the recording on your computer. All the recorded clips are managed within the Game Bar's interface, and you can even play the videos. These recordings are saved as MP4 files, so you can easily edit them using any video editing software. We'll explain this process in detail below.
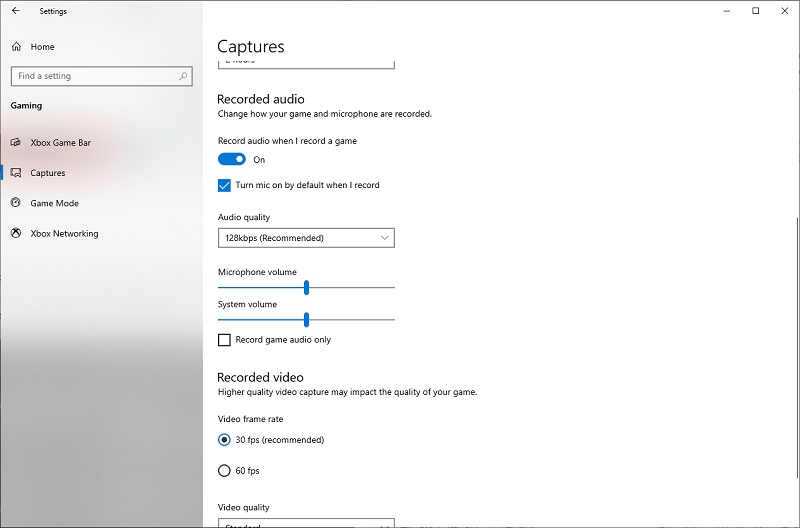
Customize Settings
In Windows 10 or 11, go to Settings > Gaming > Captures. You can set the parameters like video frame rate, video quality, audio quality, etc.
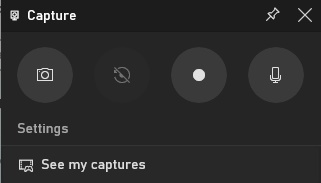
Open the Xbox Game Bar
To open the Xbox Game Bar, press the Win + G keys simultaneously. This will bring up the Game Bar overlay on your screen.
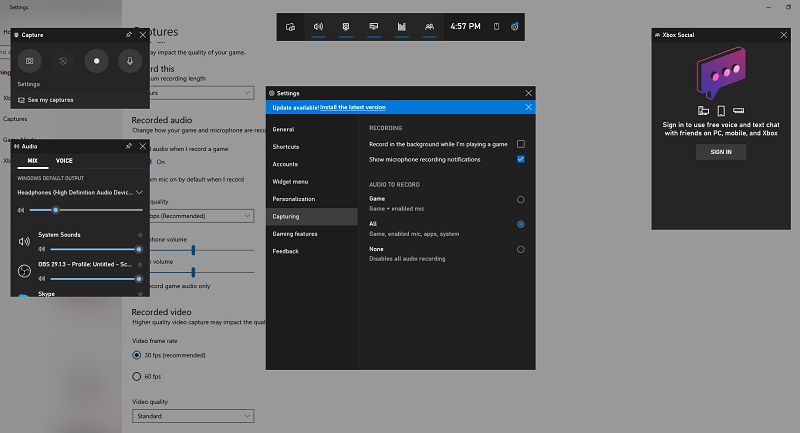
Start Recording
Within the Xbox Game Bar overlay, you'll find a red circle-shaped "Record" (Win+ Alt+ R) button. Click on this button to initiate the recording. To stop the recording, you can either press the Win + Alt + R keys together or click the "Stop" button within the Xbox Game Bar overlay.
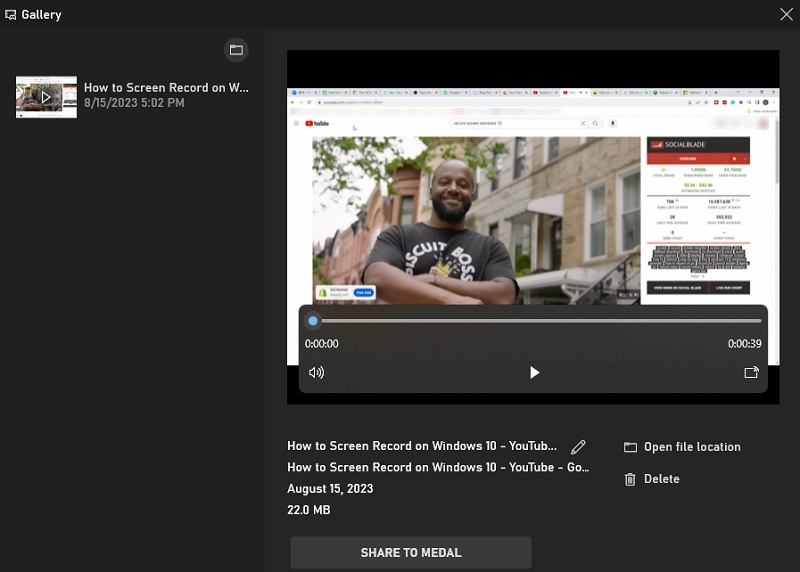
Access Recorded Clips
You can access these clips by clicking on the Xbox Game Bar's "See my captures" button. Or find it according to the path set in the step 1.
Conclusion
In the realm of screen recording software, diverse options cater to various needs. OBS Studio is great for tech-savvy users who want advanced features, while Any Video Converter is user-friendly and versatile, suitable for beginners recording tutorials or gameplays. Windows 10 and 11 users can also choose to use the built-in Xbox Game Bar for easy recording. Especially, Any Video Converter stands out as a powerful yet simple tool, making it a top choice for all kinds of screen recording tasks.

Related Articles & Tips
- • 5 Ways to Fix OBS Game Capture Black Screen [Latest in 2026]
- • Best Free Online Video Converters Compile: How to Convert Videos to Other Formats Safely
- • 10 Best Free YouTube to MP3 Converters
- • Top 7 Safest YouTube to MP3 Download Sites
- • How to Easily Convert MP4 Files into Stunning Animated GIFs
- • Learn How to Convert Video to GIF Now!
- • Free MP4 to GIF Converters Recommendations
- • 10 Best Free YouTube to MP3 Converters
- • How to Convert Video to MP4 Online
 Highly Recommended

AVCLabs Video Enhancer AI
AVCLabs Video Enhancer AI is an AI-based video enhancement software to upscale video from 480p to 1080p, 1080p to 4K, and up to 8K. With AVCLabs Video Enhancer AI, you can upscale low-res videos to high resolution and bring your old videos a stunningly new look.
Learn More
 AI Products


Hero Products

Video Converter
- MP4 Converters
- MKV to MP4 Converters
- AVI To MP4 Converters
- MOV to MP4 Converter
- Best Free AV1 Converters
- HEVC/H.265 Converter
- H.264 Video Converter
- Android Video Converter
- Convert 4K to 1080P
- Convert WebM to MP4
- Convert Videos to MP3
- Convert MP4 to 3GP
DVD Converter
Video Editor
- Best AI Video Editors
- Free AI Video Generators
- Best AI Slideshow Makers
- Replace Face in Video
- AI Cartoon Video Generators
- Text-to-Video AI Generators
- Best Free Voice Changers
- Text-to-Video AI Generators
- Sites to Download Subtitles
- Blur Video Backgrounds
- Video Editing Apps for YouTube
Video Enhancer
- Best AI Video Upscaling Tools
- Make a Blurry Video Clear
- Best Old Video Restorer
- Increase Video Resolution
- Convert Videos to 4K
Mobile & PC